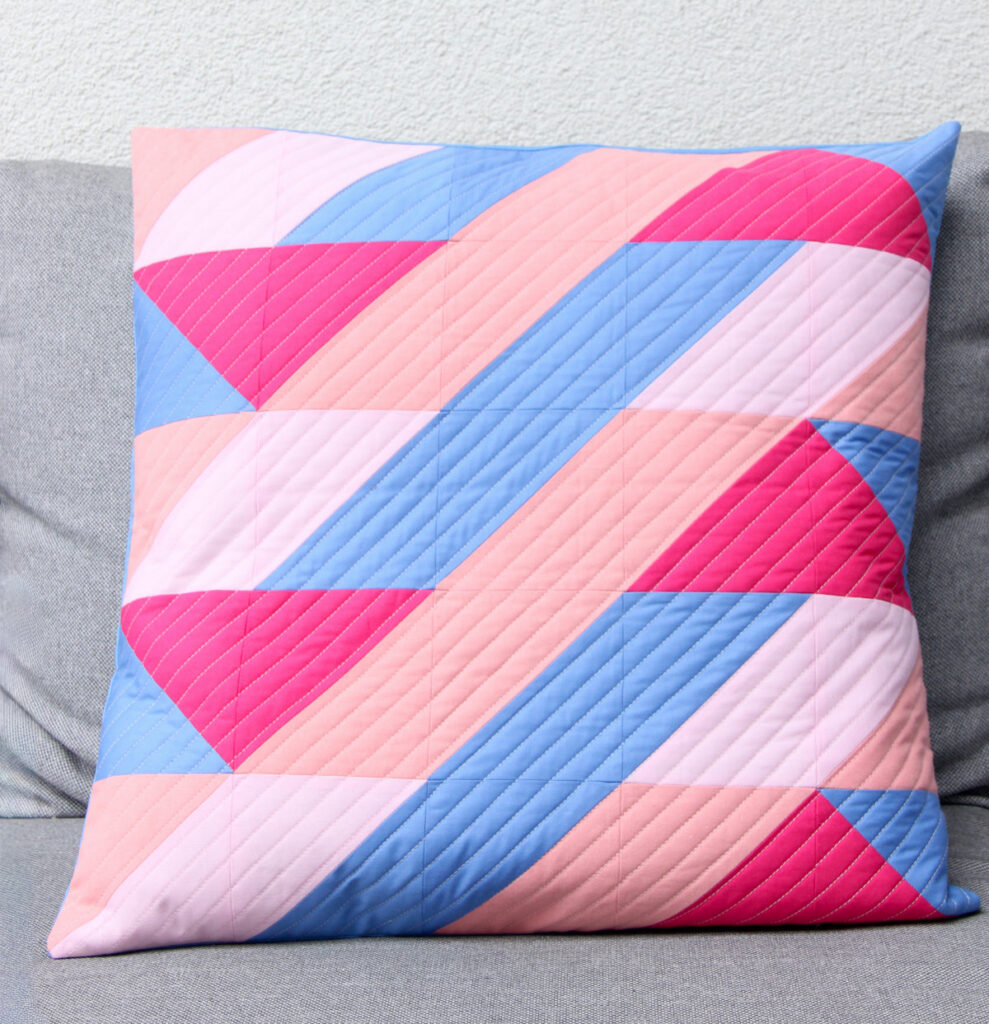
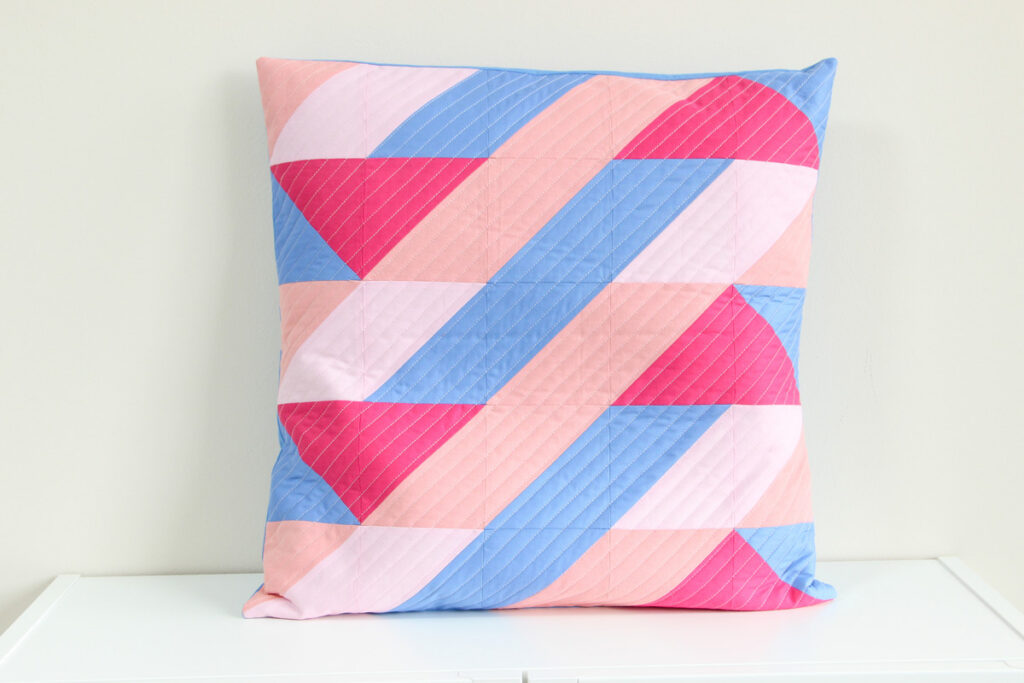
A handmade quilted pillow is one of the easiest ways to add a cozy, personalized touch to your home. In this tutorial, I’ll show you how to make a quilted envelope pillow cover step by step—even if you’re a beginner.
To create this pillow, I used my free pattern, which you can find here. I only used 5 rows of the pattern to create a 20 ½” x 20 ½” block for the pillow.
Materials you will need
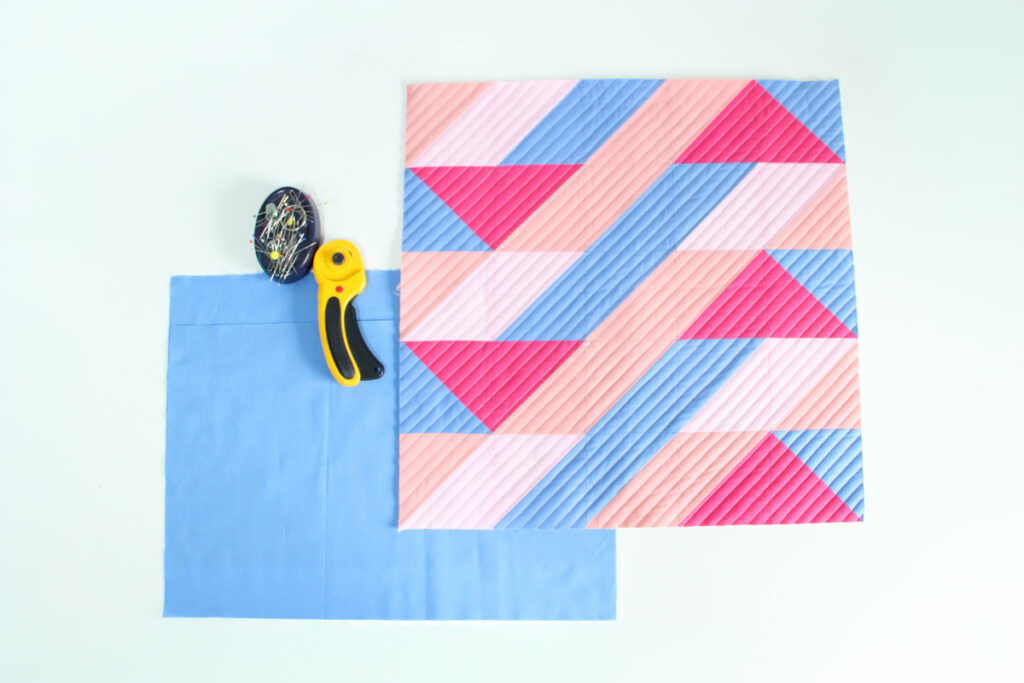
- 1 quilted patchwork block, 20½” x 20½”
- 2 pieces of fabric measuring 20½” x 13″ for the back
- Basic sewing tools: rotary cutter and mat, thread, sewing machine, pins
- Iron
Assembling the Pillow
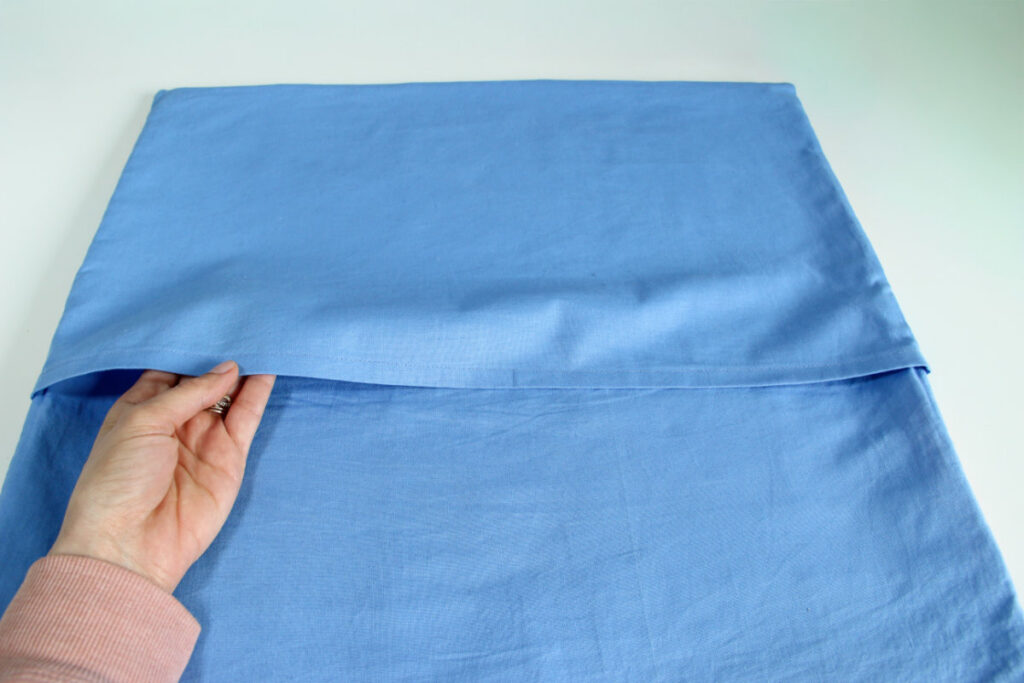
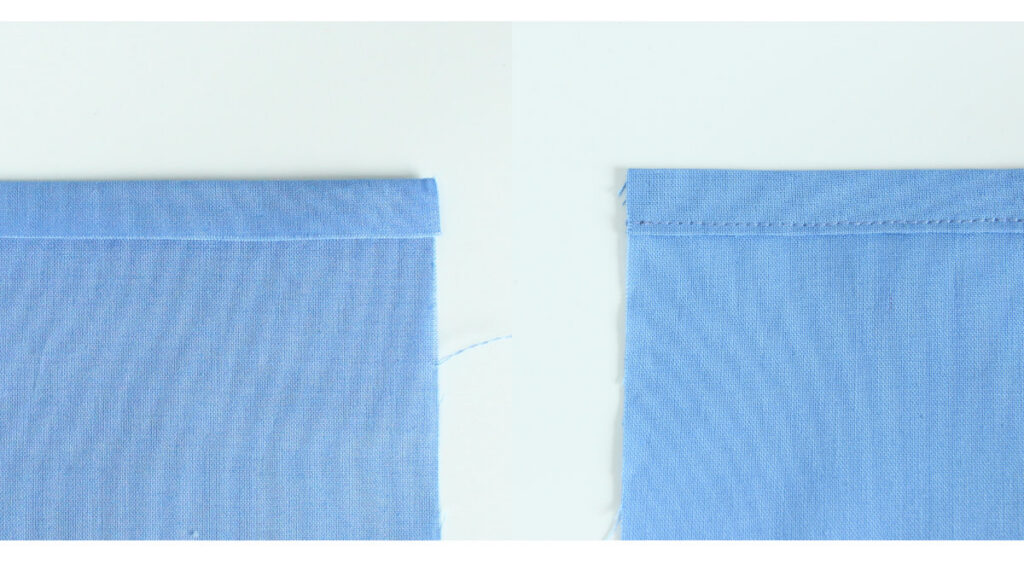
Step 1: Iron a ½” fold along one long edge of each back piece, then fold it over another ½”.
Step 2: Narrow topstitch along the folded edges.
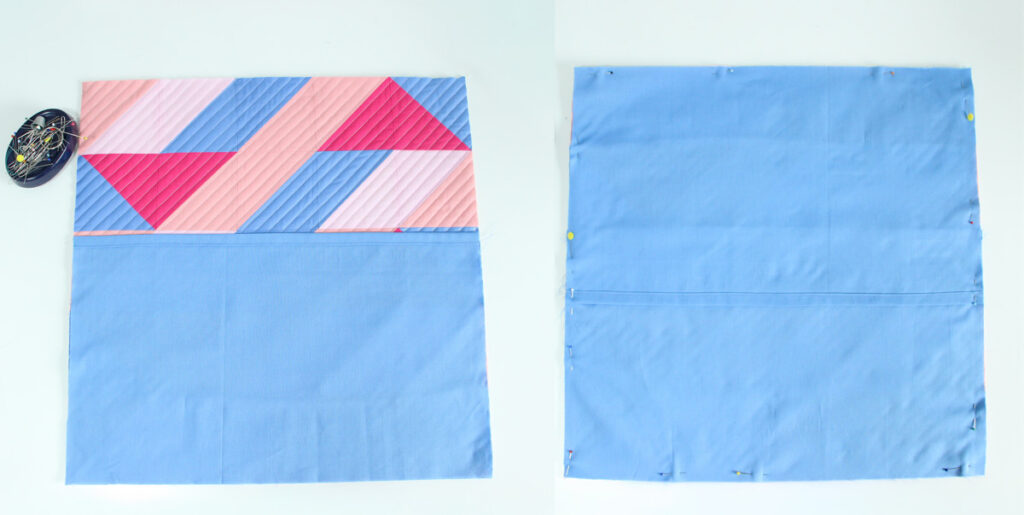
Step 3: Place the pillow front right sides together with one back piece, then add the second back piece on top, aligning all raw edges. Pin everything in place.
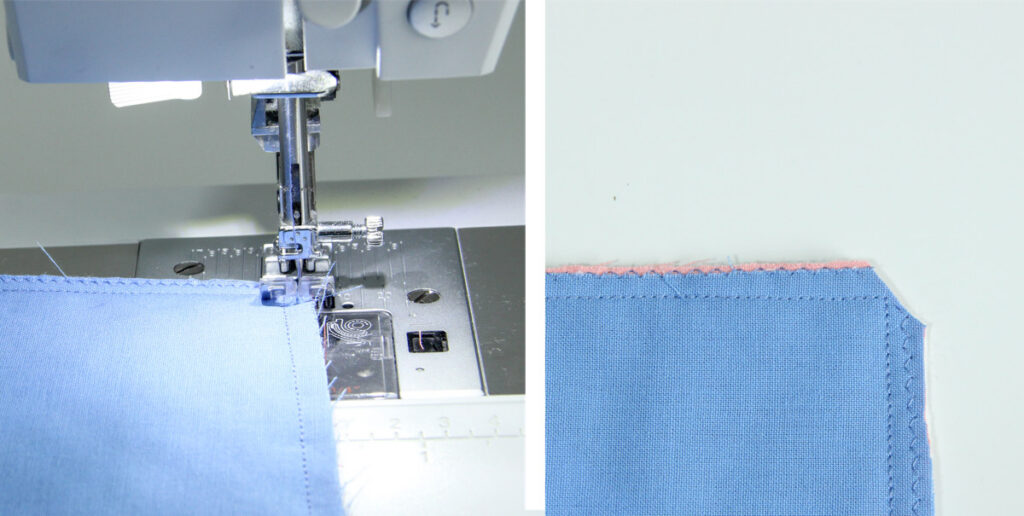
Step 4: Sew the pillow together all the way around, then finish the raw edges with a zigzag stitch or use a serger.
Step 5: Trim the corners of the pillow cover, then turn it right side out and push out the corners neatly.
Step 6: Press the pillow cover with an iron, then insert the pillow form. Your pillow cover is finished!