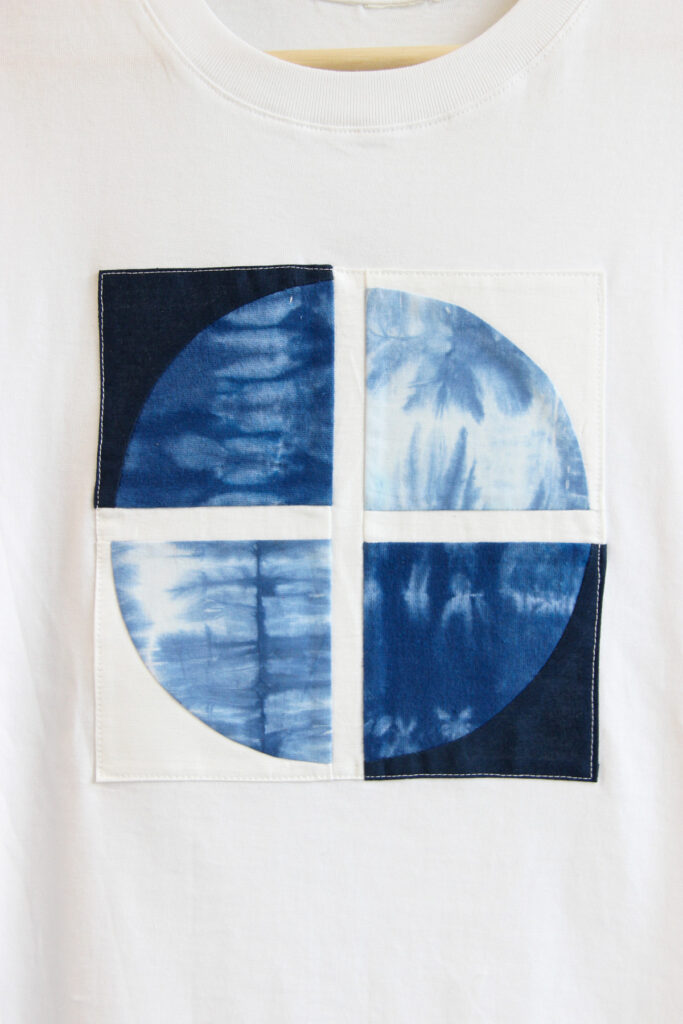
Many of us love unique, special clothing items, but we don’t always want to spend hours or a lot of money on them. Patchwork is a great way to turn a simple T-shirt into a personalized, eye-catching piece. In this post, I’ll show you how to brighten up your T-shirt with a quilt block.
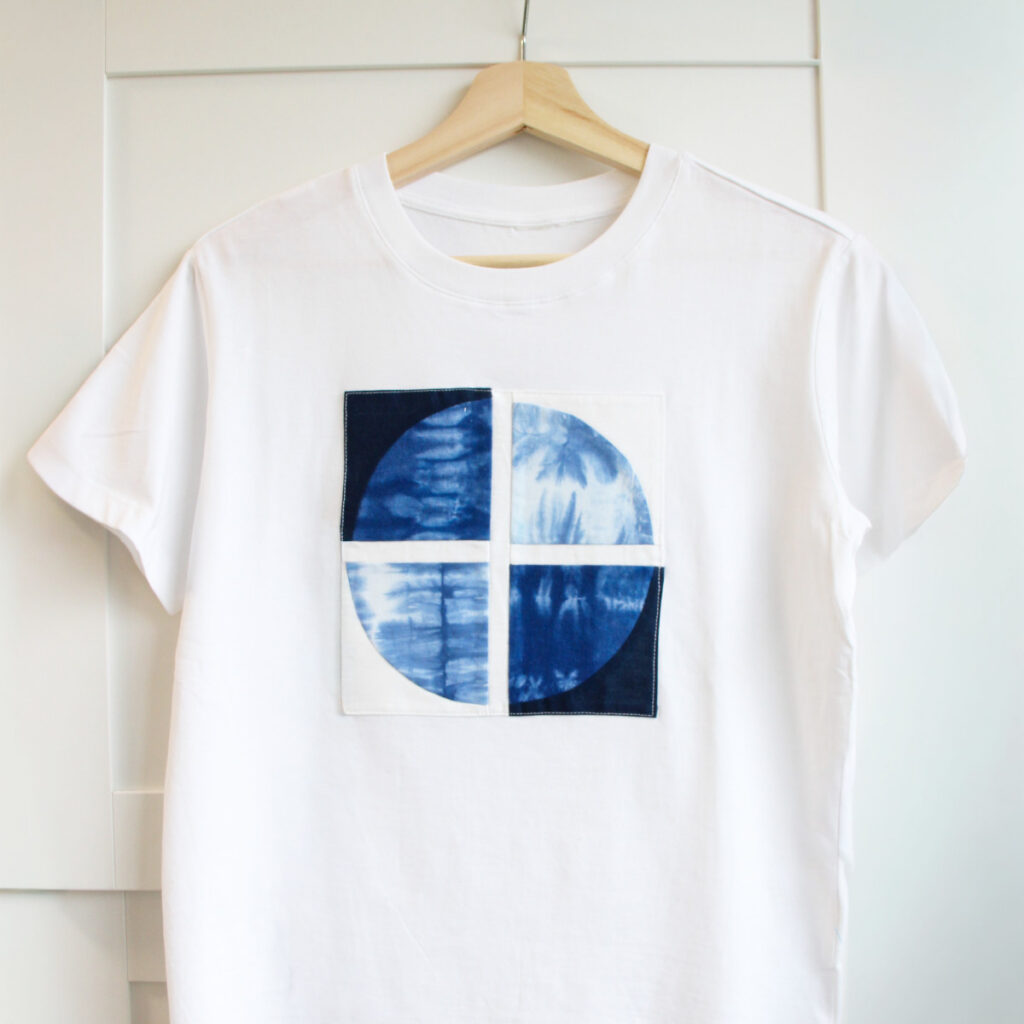
For decorating my T-shirt, I used a quilt block made of quarter-circle elements, using my own hand-dyed fabrics for the colors and patterns.
You can find the printable template for the block here, and if you’re curious how I created my hand-dyed fabrics with their unique shades, you can read my tie-dye tutorial here.
If you don’t want to sew curves, here’s another alternative for appliquéing onto a T-shirt or sweatshirt.
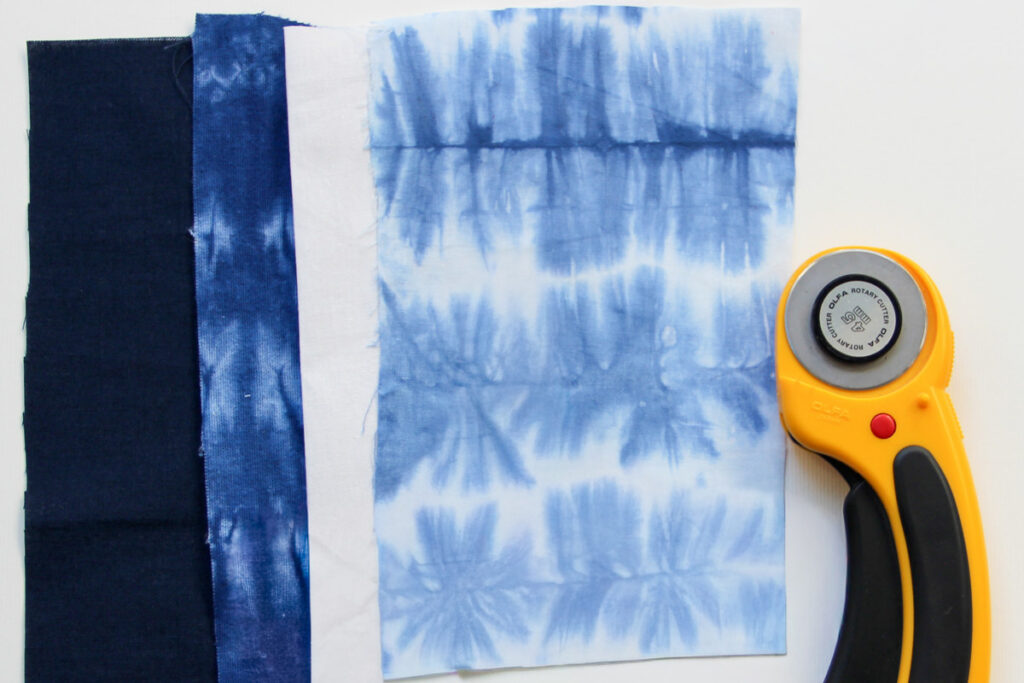
Tools and Materials
- Basic sewing tools: rotary cutter and mat, thread, sewing machine, pins
- T-shirt (100% cotton works best)
- Two-sided fusible interfacing (about 8” × 8”)
- Patchwork fabrics (hand-dyed or leftover scraps)
- Iron
Instructions
Step 1: Using the template, cut out the pieces you need: 4 outer and 4 inner quarter circles. Next, cut two strips measuring 1“ × 4 ¼” and one strip measuring 1“ × 8 ½” from fabrics of your choice. These strips will connect the block sections.
Step 2: Fold the quarter circle in half so the straight edges meet, then use your finger to crease the center of the arc.
Step 3: Place the matching pieces right sides together, align the center marks, and pin them at the center. Working outward from the center, gently pin the two fabrics together along the curve. Sew the pieces together using a 1/4″ seam allowance.
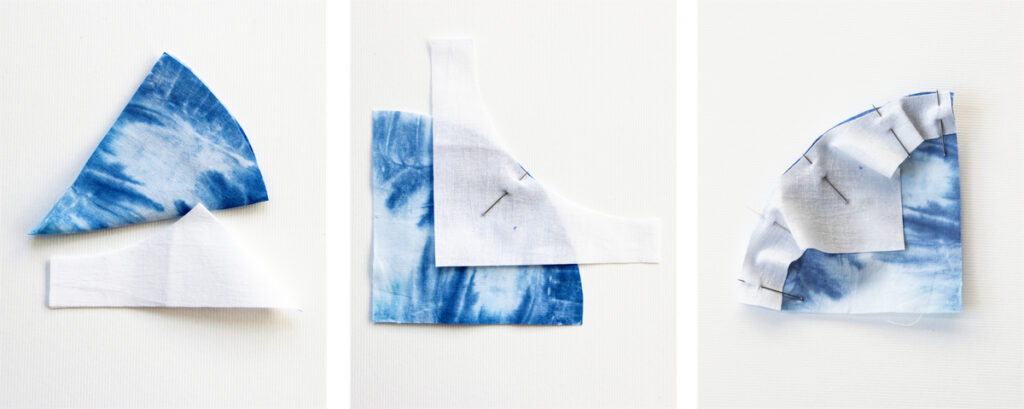
Step 4: Press the seam allowance away from the circle.
Exception: when sewing a quarter circle with a very light and a dark fabric, I recommend pressing the seam toward the dark fabric.”
Step 4: Trim excess fabric so you end up with 4 ⅛” × 4 ⅛” squares.
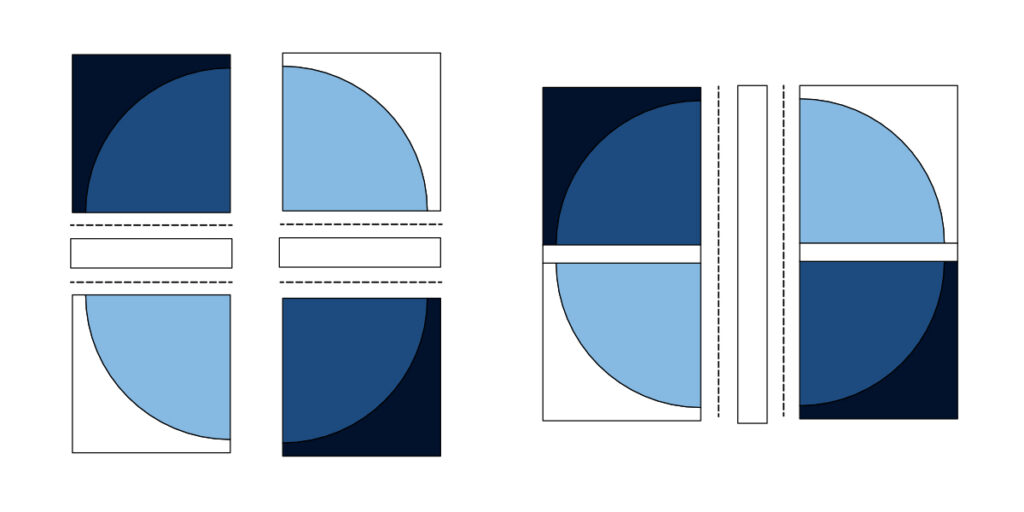
Step 5: Sew on the short strips as shown in the diagram, then trim away any excess fabric at the edges. Press the seam allowance open or toward the darker fabric.
Step 6: Attach the long strip to the finished block as shown in the image and trim away excess fabric. Press seams open or toward the darker fabric.
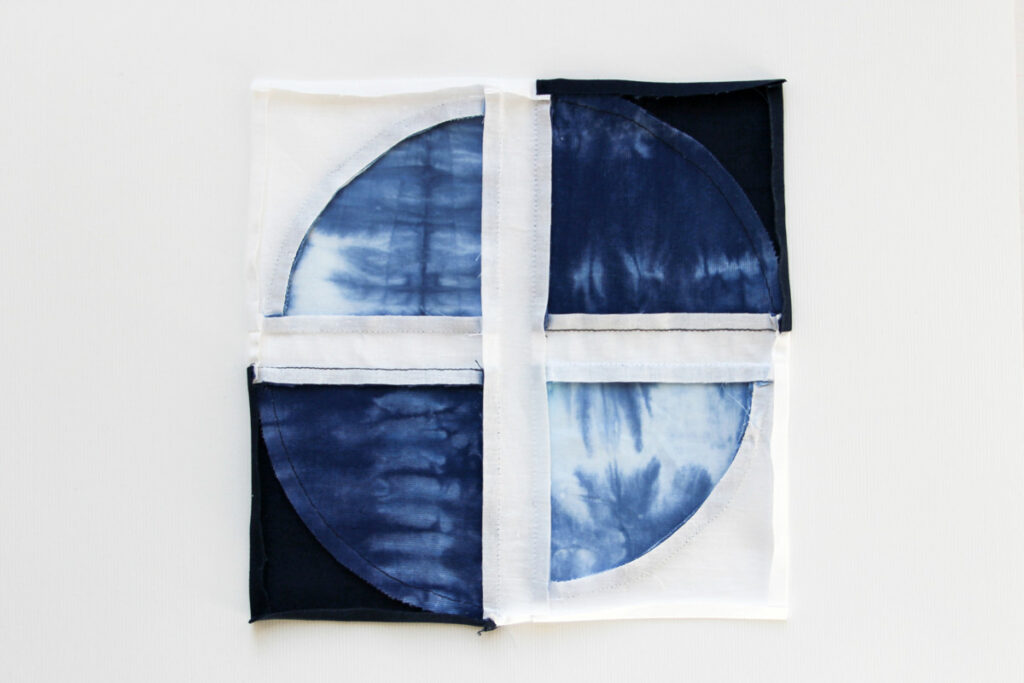
Step 7: Press the edges of the block over by ¼”.
Step 8: Pin the block to the T-shirt or mark on your T-shirt where you want to place the block and fuse the two-sided adhesive interfacing to the back of the block, position it on the T-shirt, and press it in place.
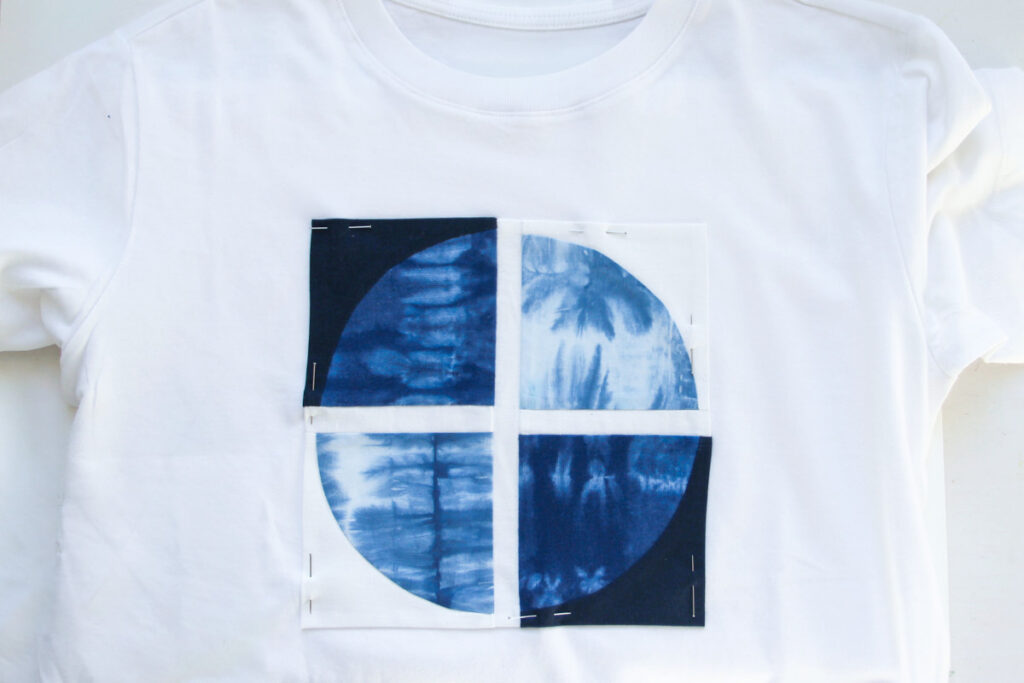
Step 8: Topstitch the block onto the T-shirt—and wear it with joy!