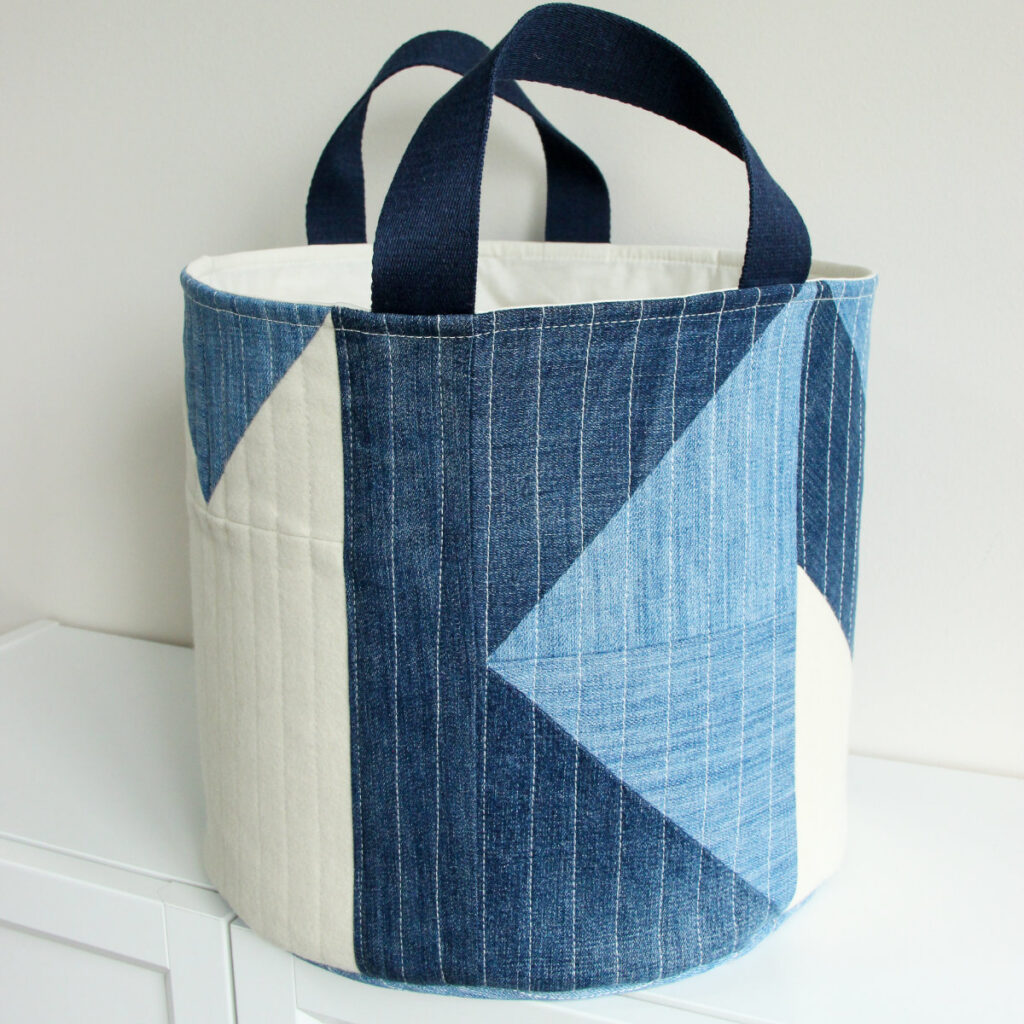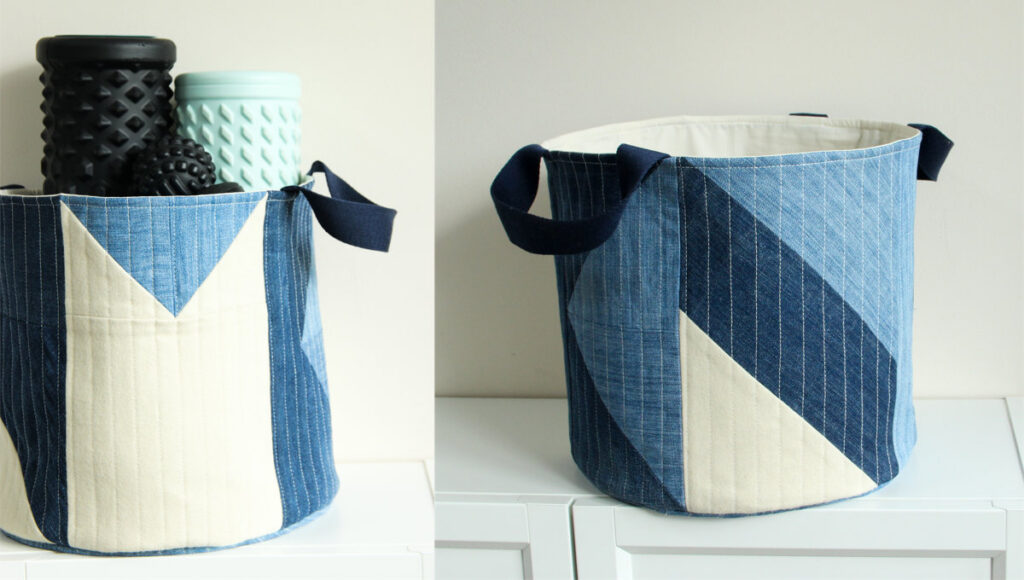
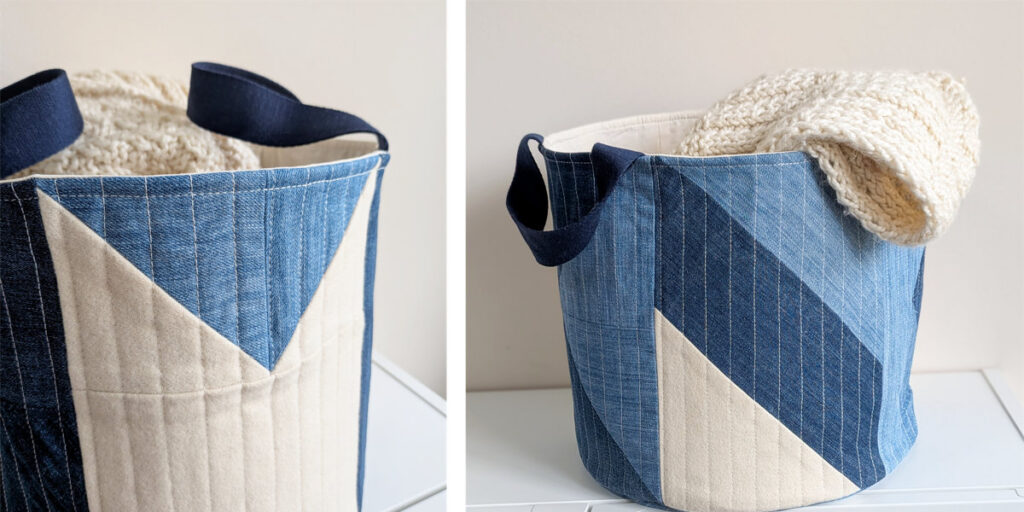
Combine upcycling with quilting and put your thicker fabric scraps and old jeans to good use. In this tutorial, I’ll show you how to make a large quilted denim storage basket that’s both practical and a stylish addition to your home. This project is perfect for storing quilts, yarn, toys, craft supplies, or everyday household items.
Denim is an ideal material for storage projects because of its durability and structure. Pair it with a heavy stabilizer to create a basket that holds its shape well, and add a separate lining for a neat, professional finish. Whether you use a coordinated color palette or mix different shades of denim for a more eclectic look, each basket will be completely unique.
A Few Tips for Sewing with Denim
Because denim is thicker than quilting cotton, I recommend working with a ½” (1cm) seam allowance, using a heavier needle, and increasing your stitch length slightly. These small adjustments make sewing through multiple layers much easier and help create smoother, more durable seams.
Always press your seam allowances open, and wherever bulk builds up, trim it away to reduce thickness and keep the quilt smooth and easier to handle.
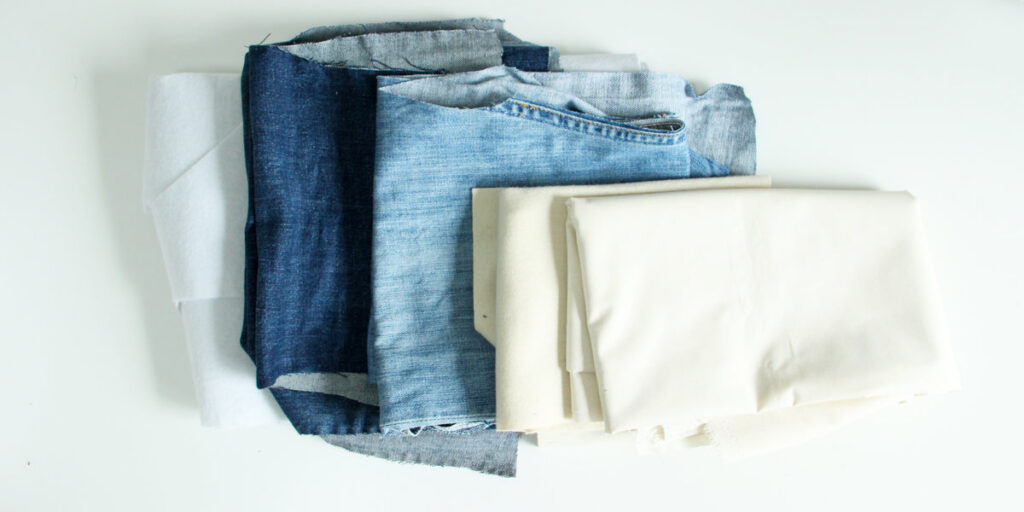
When choosing jeans for quilting, try to use non-stretch denim whenever possible. Stable fabrics are much easier to piece and quilt, and they help the finished project keep its shape over time.
I worked with recycled men’s jeans, which gave me fabric pieces approximately 8 inches wide and varying lengths. To make the most of these larger denim sections, I combined half-square triangles (HSTs) with simple strip piecing, creating a design that feels both modern and organic.
Materials you will need
- 1 patchwork piece (from jeans or heavier fabrics): 13 ½” x 41″ (104 cm x 34 cm)
- 1 heavy stabilizer: 13 ½” x 41″ (104 cm x 34 cm)
- 1 lining fabric (lighter weight): 12 ½” x 40″ (102cm x 32 cm)
- 2 carrying straps: approx. 12 ½” long and 1 ½” wide (about 32 cm x 4 cm) You can make it from webbing or even repurpose denim strips.
- Basket base circle (use the provided template below) and cut:
- 1 outer fabric
- 1 heavy stabilizer
- 1 lining
- Basic sewing tools: rotary cutter and mat, thread, sewing machine, pins
- Iron
Template Printing Instructions
- Print the template at 100% scale (actual size). Do not use “fit to page” or scaling options.
- Make sure your printer settings are set to A4 / Letter size (depending on the file format).
- After printing, check the scale box / test square on the template to ensure the size is correct before cutting.
- Align the marks carefully and tape the pages together before cutting out the shape.
Making the Quilted Top Panel
Start by creating your 13 ½” x 41″ (104 cm x 34 cm) patchwork piece from denim and other heavier fabrics. Work carefully and use a ½“ (1cm) seam allowance throughout the construction.
Whenever you join thicker sections, always press the seam allowances open. This helps reduce bulk and keeps the surface as flat as possible.
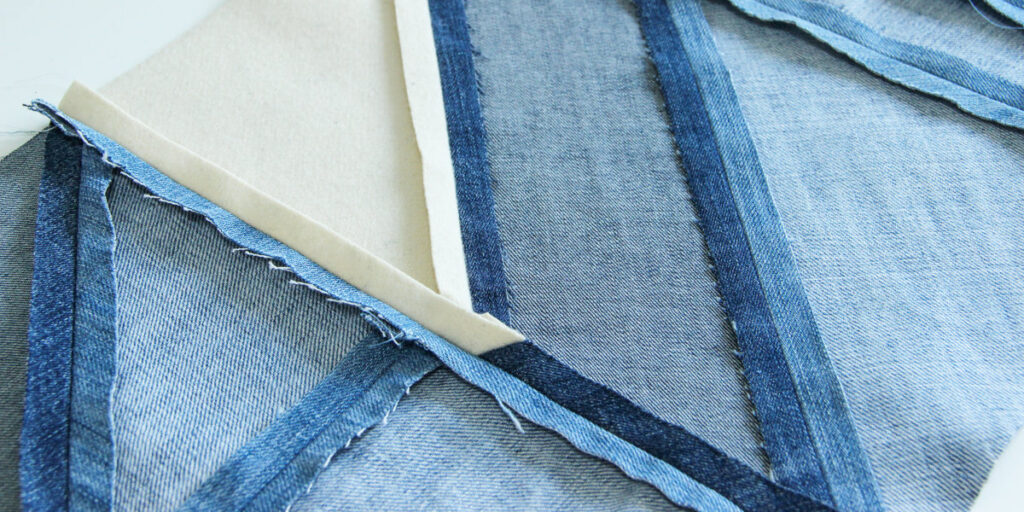
Once your patchwork top is complete, press the heavy stabilizer onto the back side of the entire panel. This will give your basket its structure and stability.
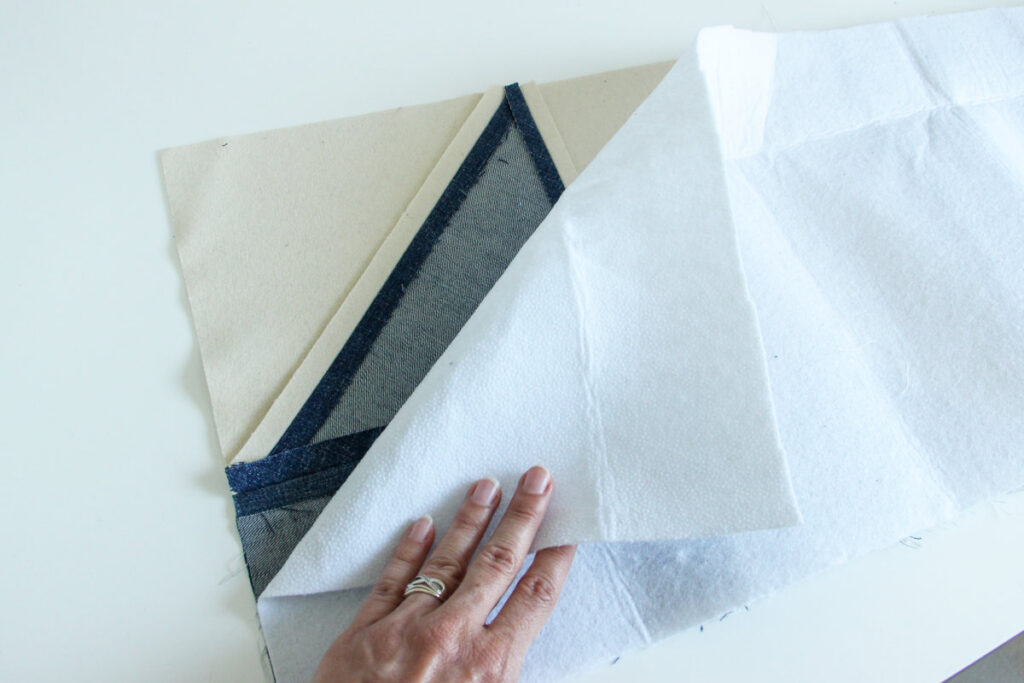
Next, take the circular piece cut using your template and fuse the stabilizer onto that piece as well. This step ensures that all main structural parts of your basket have enough support.
Now it’s time to quilt the layers together. Use a longer stitch length and, if you like, a thicker thread for a more decorative, visible stitch effect. Carefully quilt the patchwork top and the stabilizer so the layers become one stable, structured fabric.
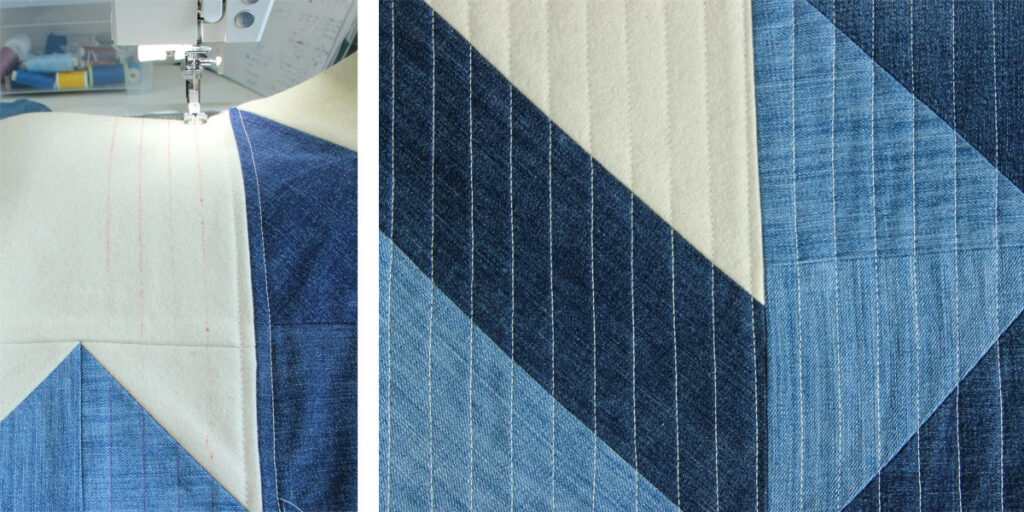
Finally, trim the quilted main panel precisely to 12 ½” x 40″ (102cm x 32 cm), making sure all edges are straight and even before moving on to assembly.
Assembling the Storage Basket
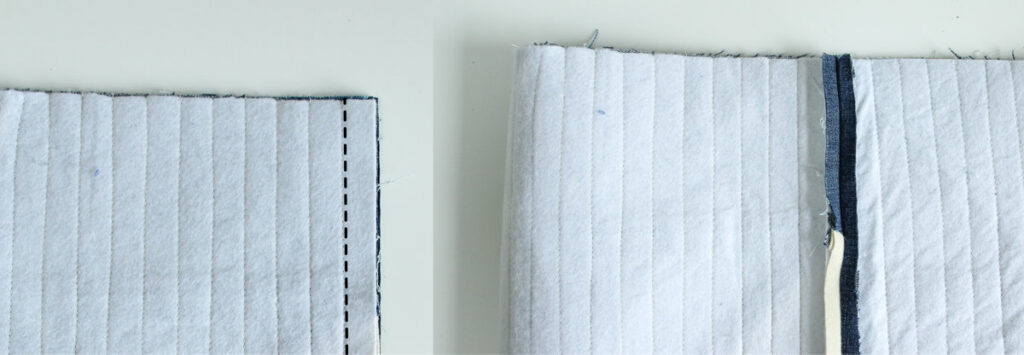
Step 1: With right sides together, sew the short ends of the quilted outer panel together to form a tube. Press the seam allowances open to reduce bulk.
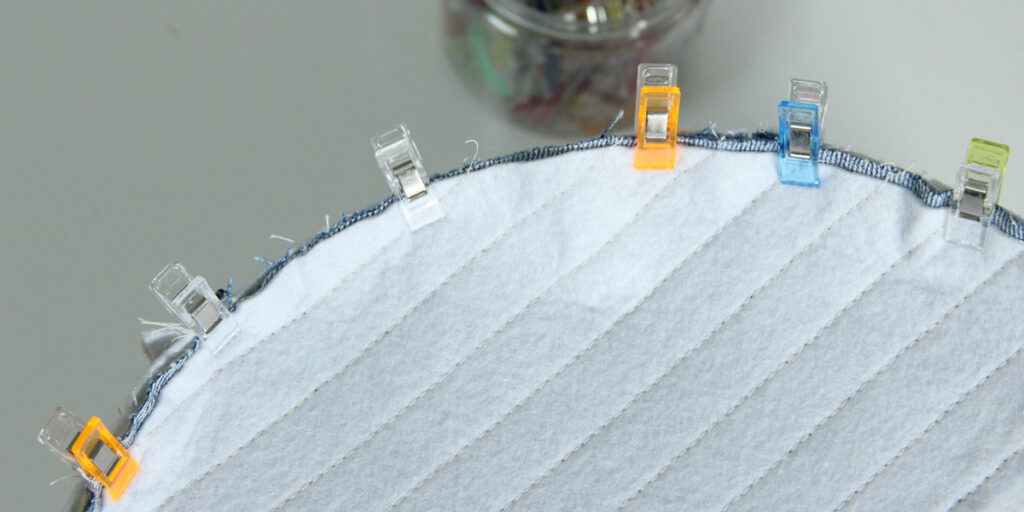
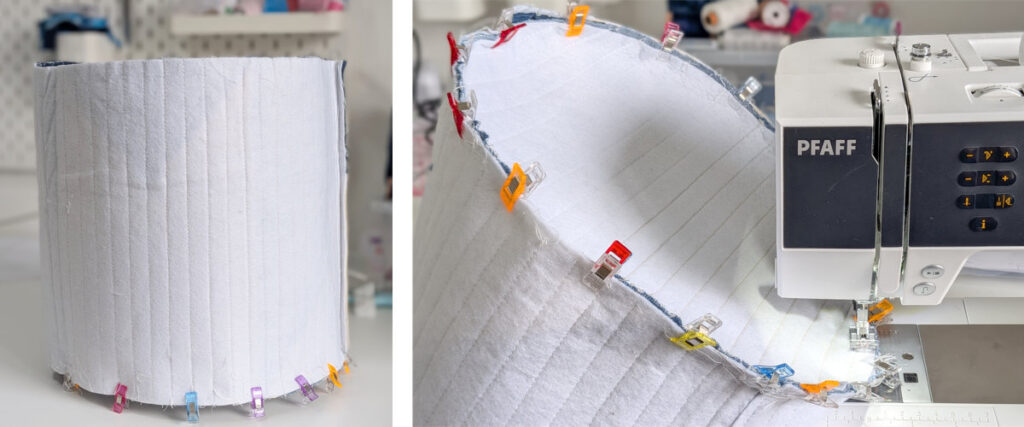
Step 2: Pin or clip the circular base to the bottom edge of the outer basket, matching the raw edges evenly. Sew the base to the side panel, stitching with the circular piece facing up as you sew.
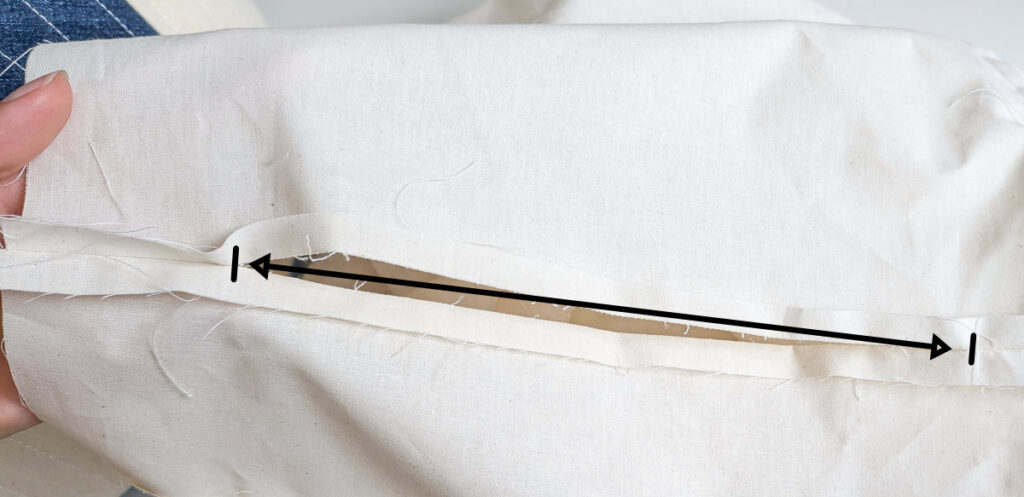
Step 3: Sew the short ends of the lining fabric together to form a tube, leaving a 9″ (23 cm) opening in the seam for turning later.
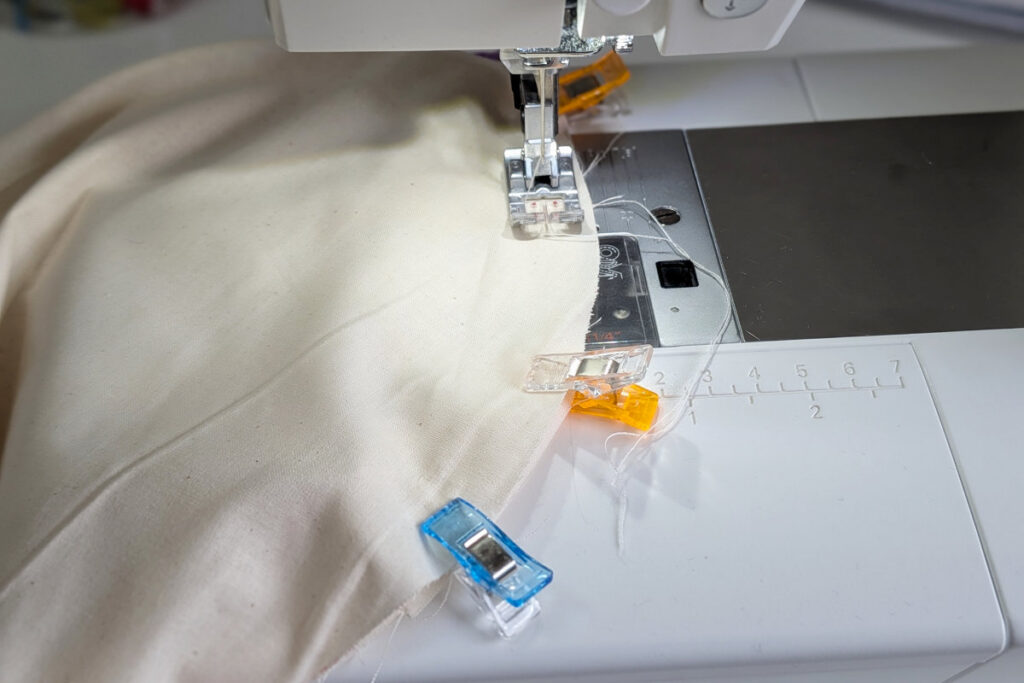
Step 4: Attach the lining circle to the lining tube. Pin or clip the pieces together and sew around the edge, again sewing with the circular base facing up.
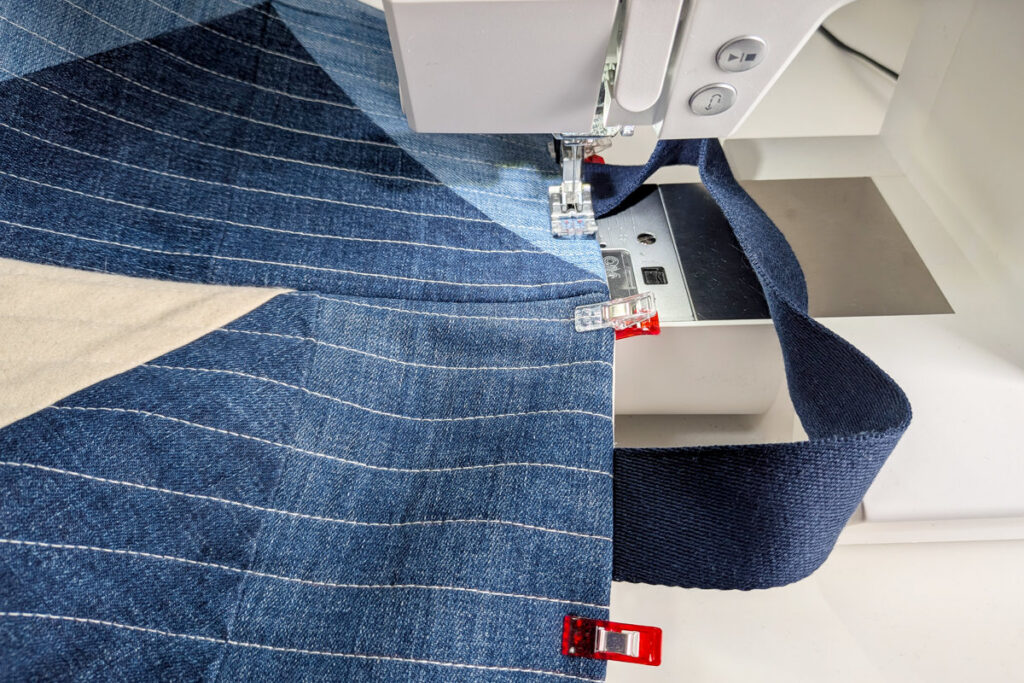
Step 5: Turn the outer basket right side out. Fold it in half to find the center of the basket front and back. Mark the center point on both sides then measure 2¼” (5.5 cm) to each side of the center marks. These marks indicate the placement of the handle ends. Position the strap ends at the marked locations and pin them in place. Baste the strap to the basket, sewing approximately ¼” (5 mm) from the top edge to hold it securely for the next step.
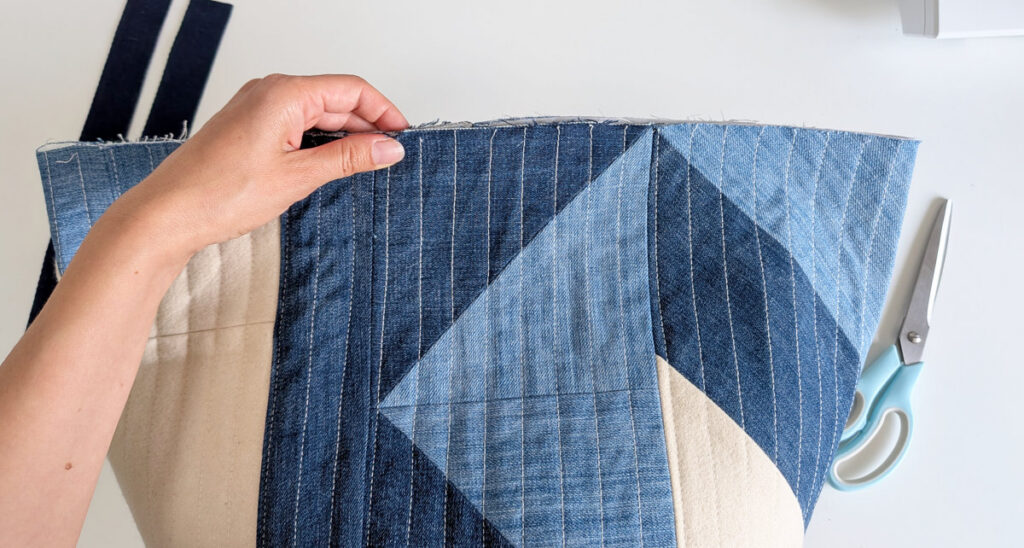
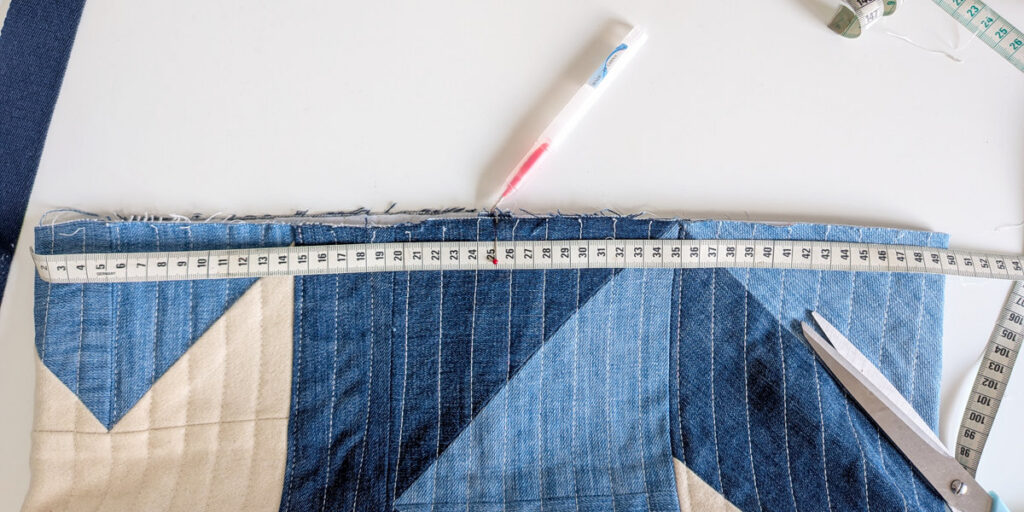
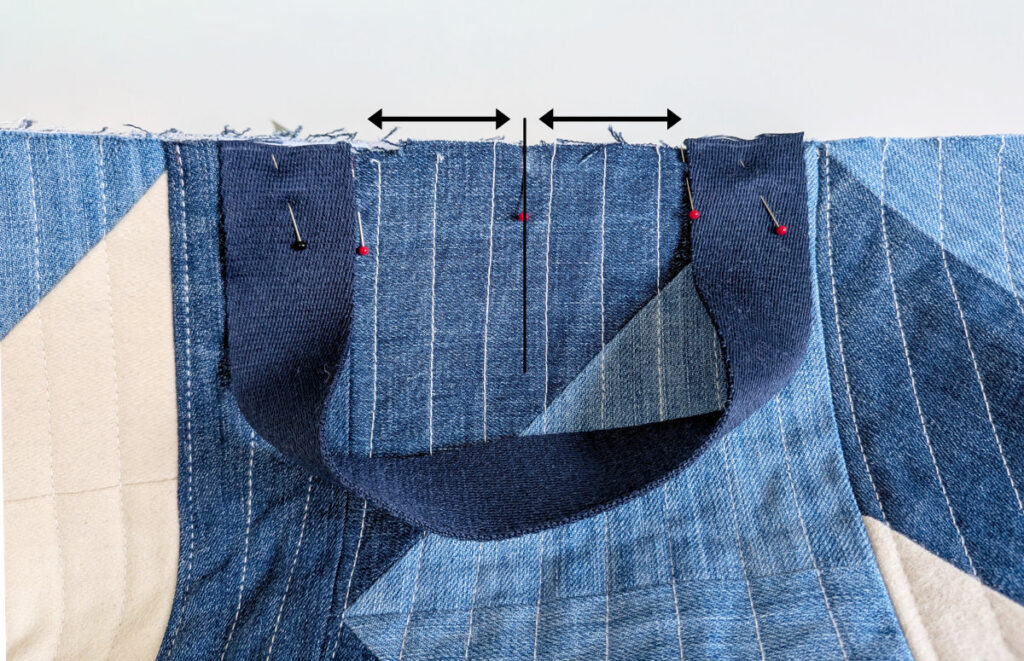
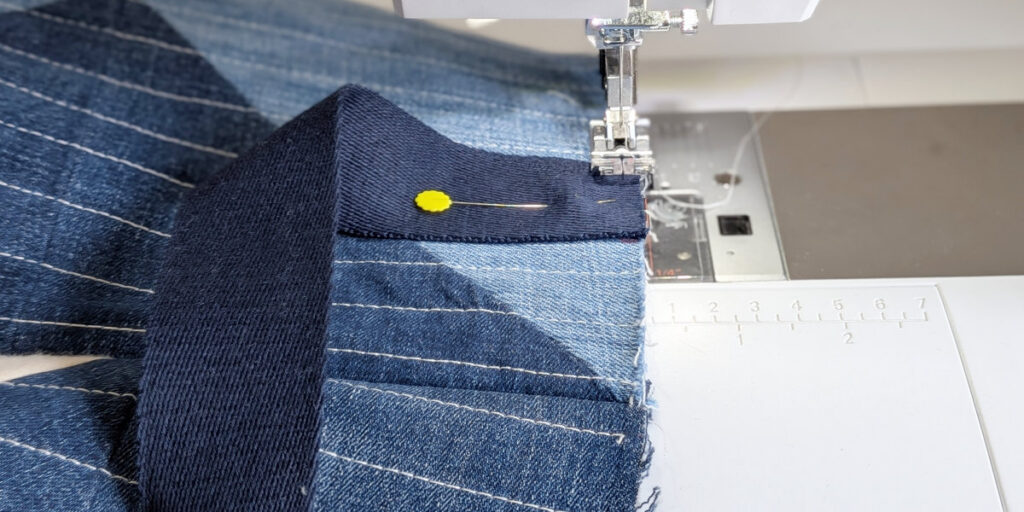
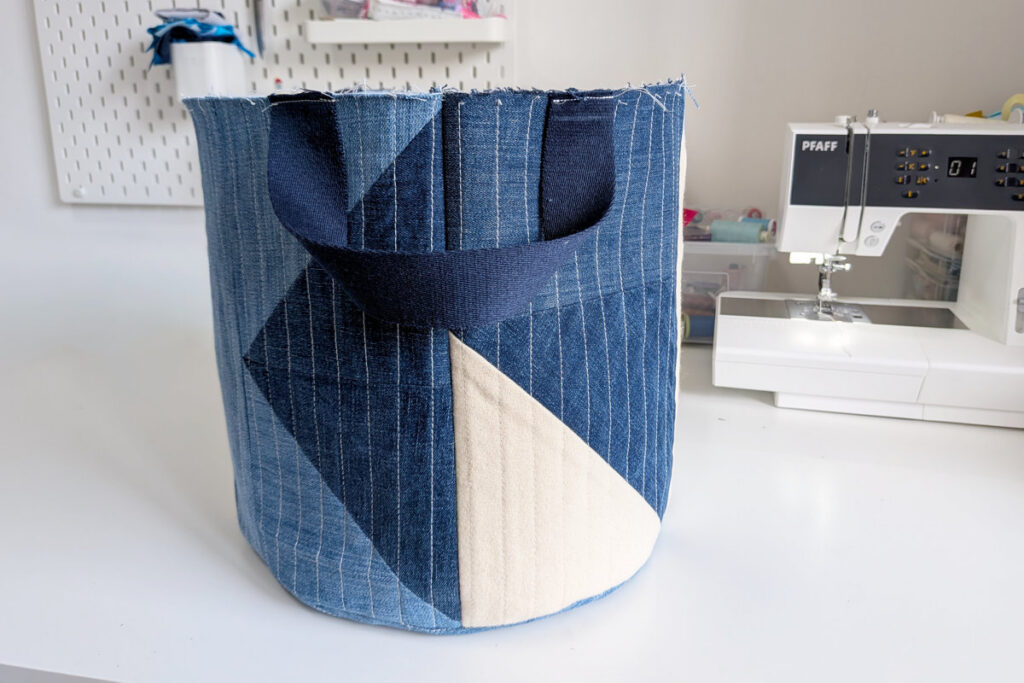
Step 7: Place the lining on the outside of the main piece, with right sides facing together (lining on the outside, outer basket inside). Match the top edges carefully and align all seams. Clip or pin all the way around, then sew the top edge using a ½” seam allowance. Sew from the outside, on the lining side.
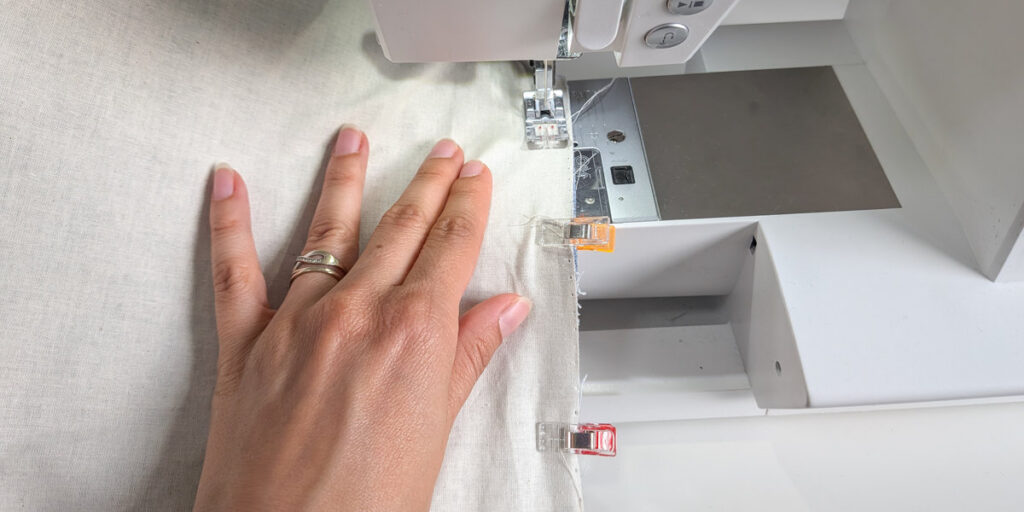
Step 8: Turn the basket right side out through the opening left in the lining. Close the opening by hand stitching or with a narrow machine stitch.
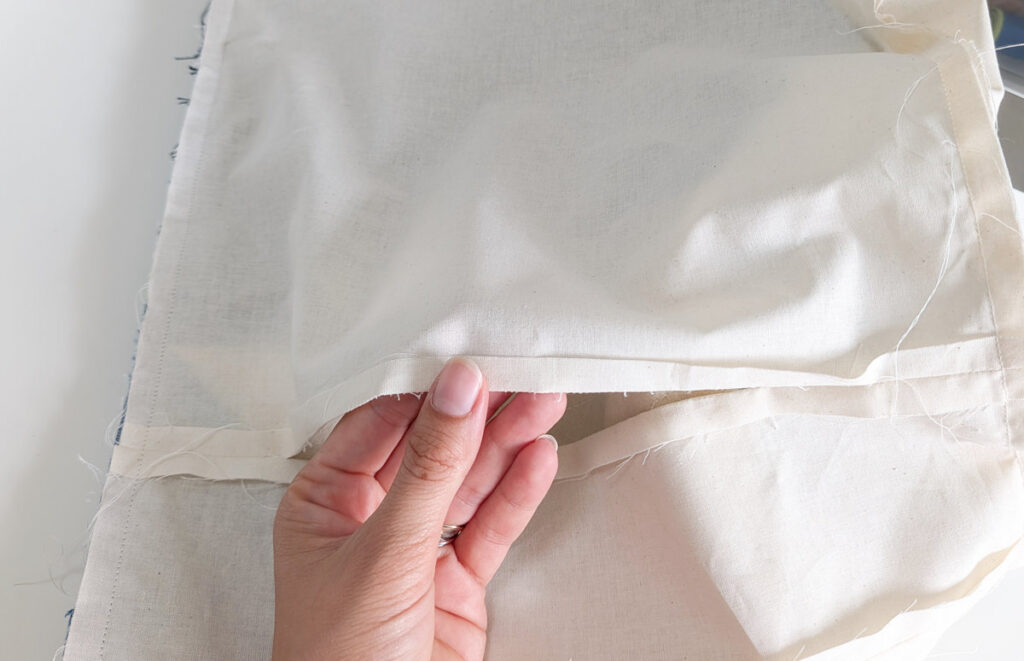
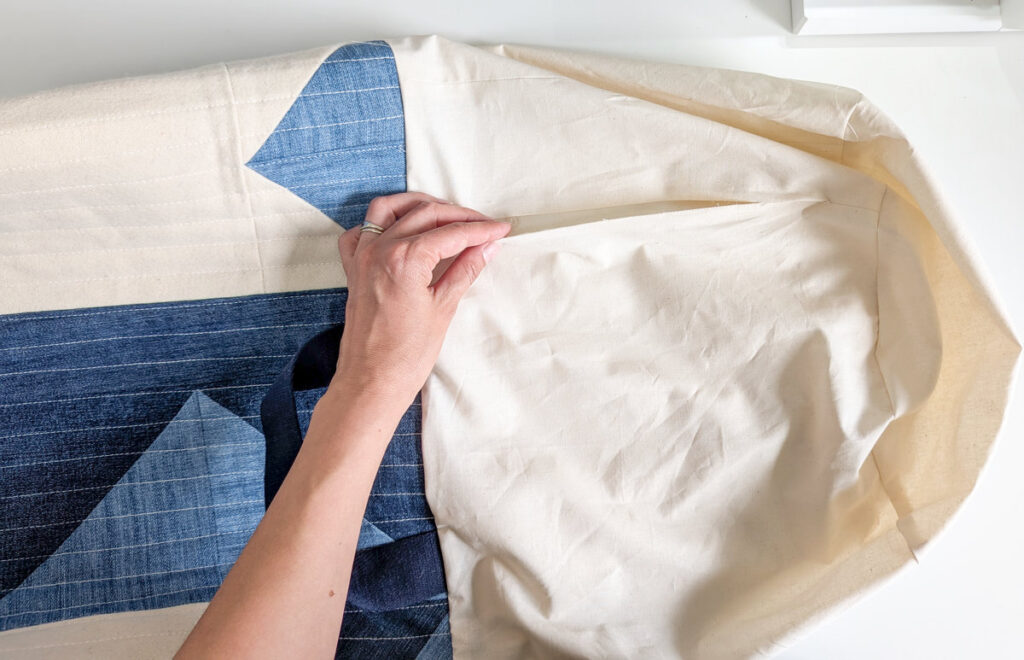
Step 9: Turn the lining to the inside of the outer basket and smooth it out. Clip or pin everything evenly around the top edge. Then topstitch all the way around and finish by pressing with an iron.
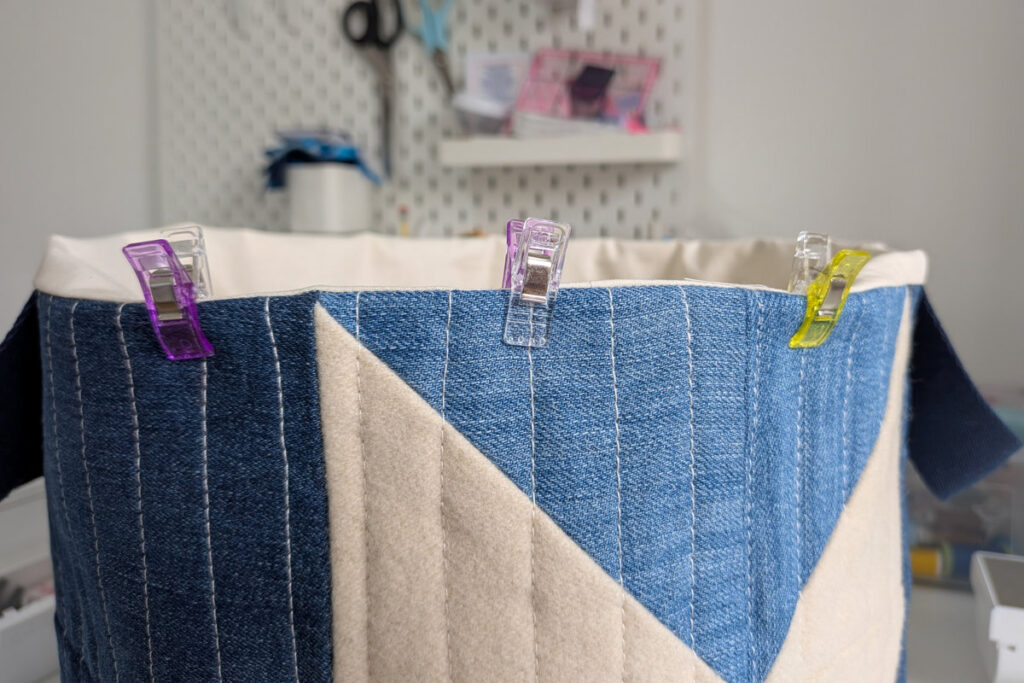
Step 10: Your storage basket is now finished—ready to use!
Fill it with whatever you like and enjoy your new handmade, upcycled piece in your home.